Up and Running With Raspberry Pi 4 Model B 8GB With Kali Linux
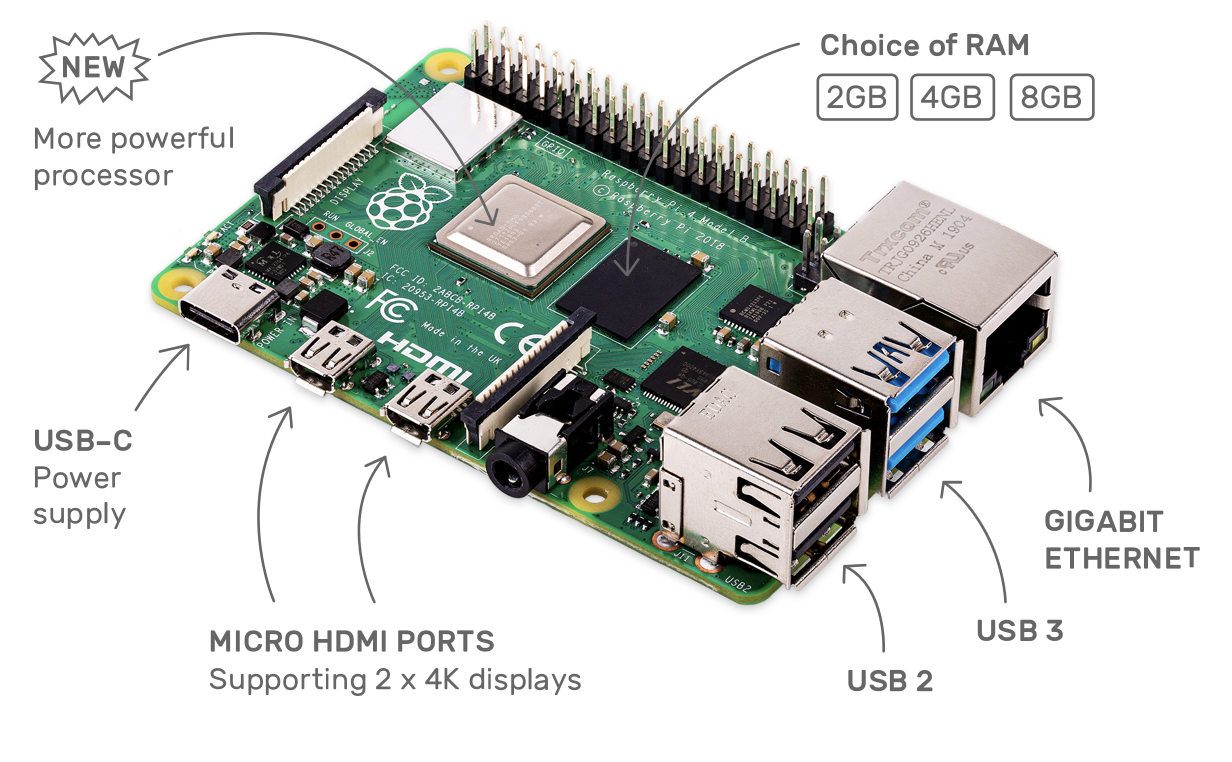
Raspberry Pi 4 Model B (8GB) comes with a whole lot of exciting features like Dual displays with 4K output. Plus 8 GB ram gives you the opportunity to run many applications that are memory hungry. Find more here.

So there is no excuse to have a Pi as well as I do not have an excuse to avoid a blog post.
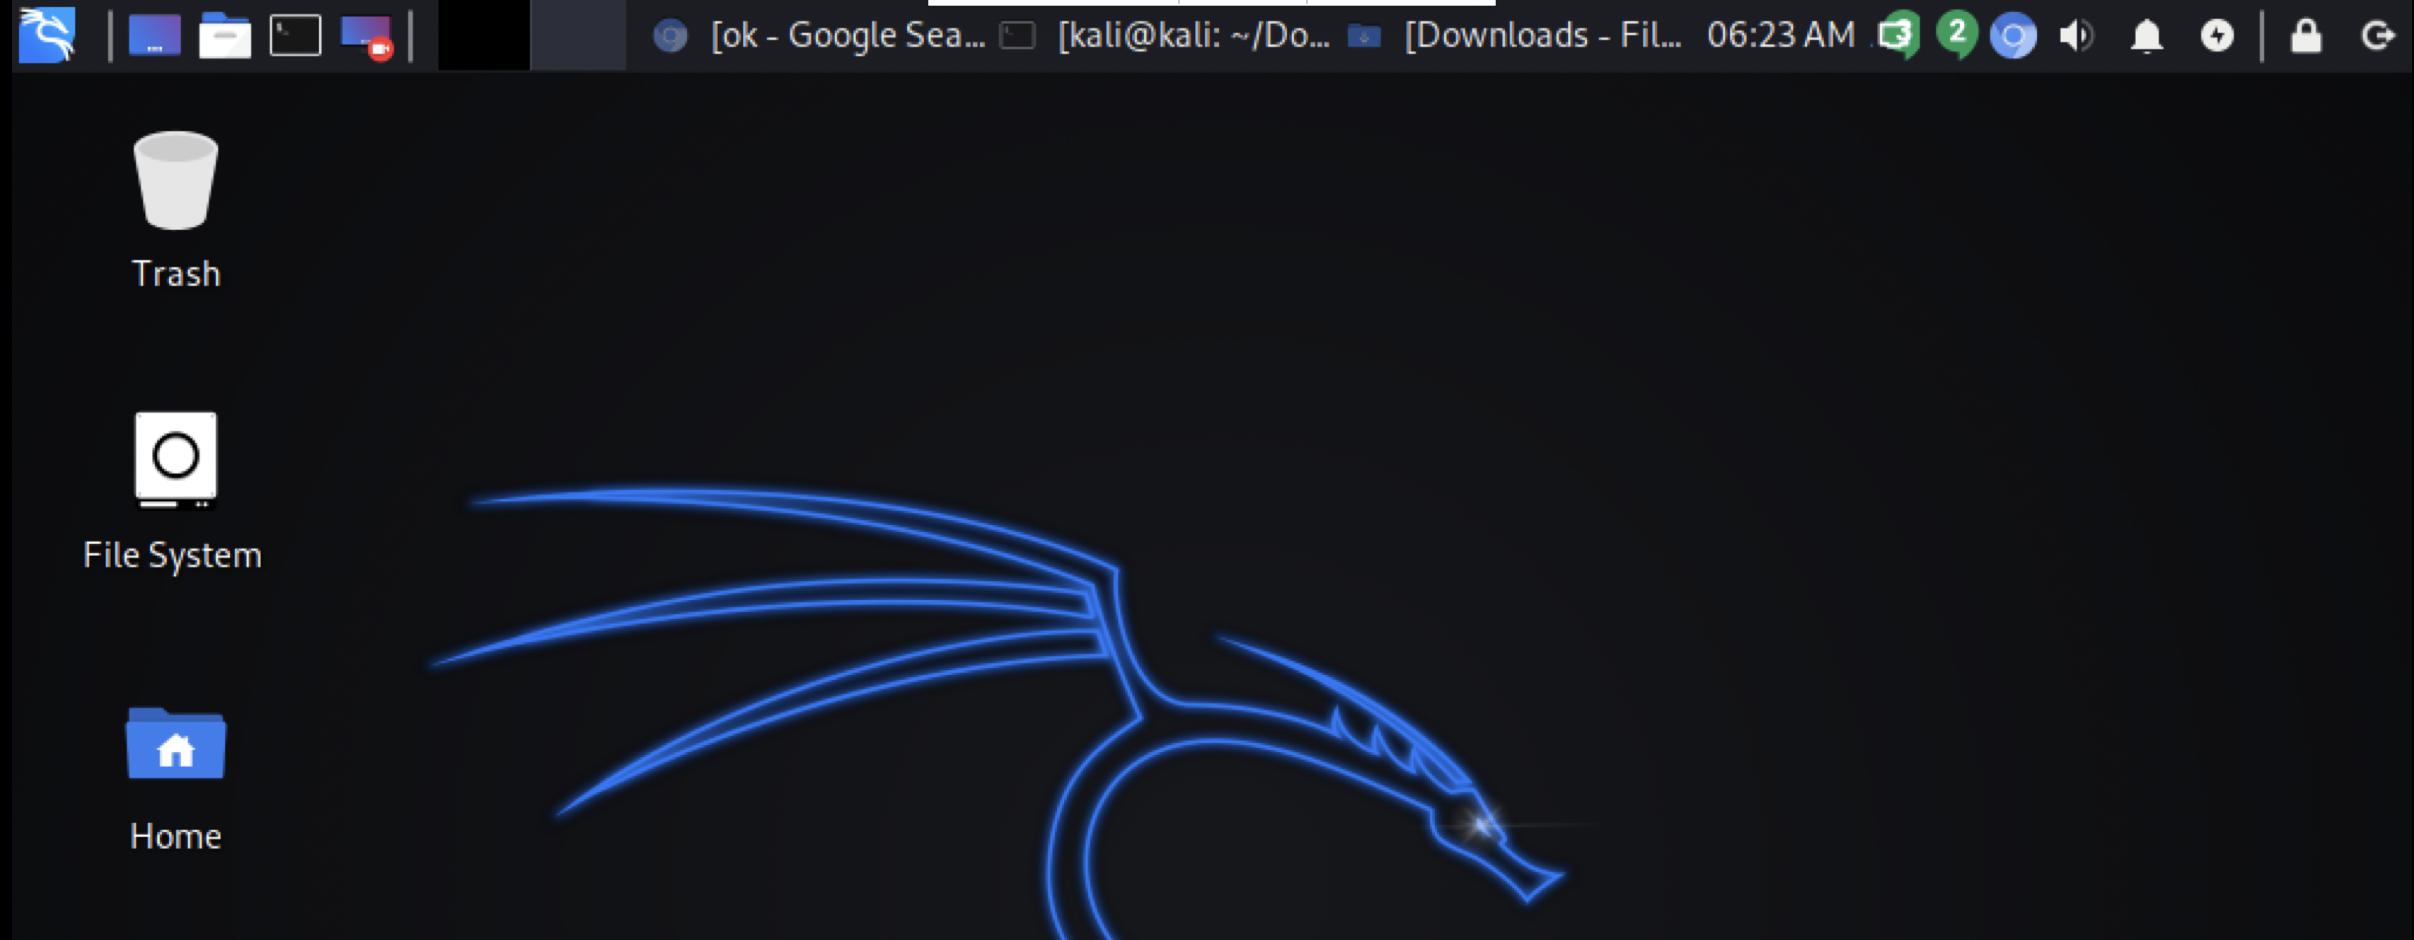
I tried the default installed Raspbian that comes with kit’s I ordered online, However, I want to turn my Pi box into a pen-testing environment and so flushed with kali.
You can download kali from https://www.offensive-security.com/kali-linux-arm-images/. I was in a rush to see it and the first time I downloaded 32 bit and later realized burp suite no longer supports 32 bit and then I download 64 kali. So, I recommended downloading 64 bit.

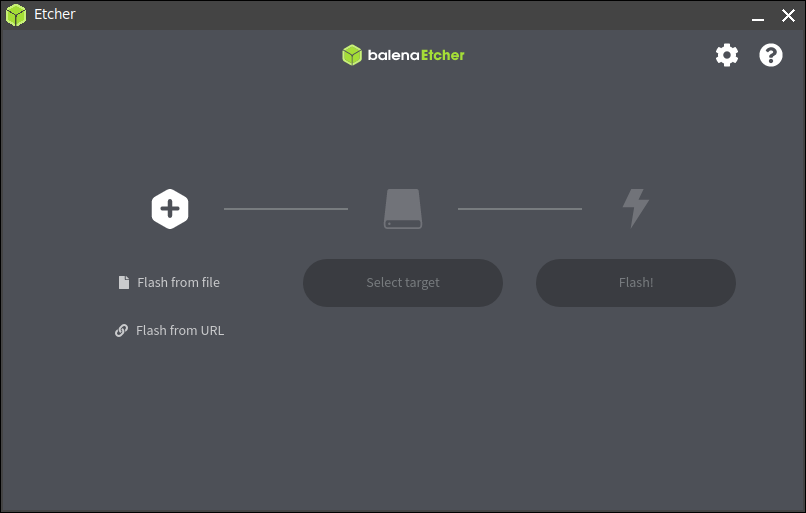
I do use Etcher(www.balena.io) to flash my sd card.

By default, I found Kali is running the ssh server on boot which is very cool. So if you do not have a mouse or a keyboard at the first time which is completely okay but you need at least a cable to connect with your router to get the pi connected to the network and internet.
The default user/password for kali pi is kali/kali. So the first thing is you need to change the password.
passwd
After that, I do recommend to upgrade the kali dist-upgrade
sudo apt-get update sudo apt-get dist-upgrade
Without upgrading the distro I found a few things not working like installing a burp certificate etc. So better upgrade the Kali.
Find the IP address of Pi from the router or run Nmap to get the pi IP.
nmap -sn <10.10..10.1/24>
ssh to the server and start the vncserver.

vncserver
If you want to run the vnc server on boot check this post. I prefer not to run vnc always. Most of the time I ssh to the pi and run it manually if needed.

Get the vncviwer from here.
Enabled Clipboard Over vncserver
sudo apt install autocutsel autocutsel -fork (do not run this from ssh, run from vncviewer)
By default, kali does not have a preinstalled burp So you need to download that jar file.
Next is installing the certificate.
Normal certificate installs with the following command or importing certificate from the chrome certification manager not work.
sudo mkdir /usr/local/share/ca-certificates/extra
sudo cp root.cert.pem /usr/local/share/ca-certificates/extra/root.cert.crt
sudo update-ca-certificates
I found very nice blog about it and also get this script.
#!/bin/bash

### Script installs root.cert.pem to certificate trust store of applications using NSS
### (e.g. Firefox, Thunderbird, Chromium)
### Mozilla uses cert8, Chromium and Chrome use cert9

###
### Requirement: apt install libnss3-tools
###


###
### CA file to install (CUSTOMIZE!)
###

certfile="cacert.der"
certname="burp"


###
### For cert8 (legacy - DBM)
###

for certDB in $(find ~/ -name "cert8.db")
do
    certdir=$(dirname ${certDB});
    certutil -A -n "${certname}" -t "TCu,Cu,Tu" -i ${certfile} -d dbm:${certdir}
done


###
### For cert9 (SQL)
###

for certDB in $(find ~/ -name "cert9.db")
do
    certdir=$(dirname ${certDB});
    certutil -A -n "${certname}" -t "TCu,Cu,Tu" -i ${certfile} -d sql:${certdir}
done
You can export the burp certificate or you can download it from browser http://burpsuite
sudo mkdir /usr/local/share/ca-certificates/extra
sudo cp burp.der /usr/local/share/ca-certificates/extra/burp.der
> apt install libnss3-tools
> ./cert-instal.sh
Kill the chrome browser and re run. Now you can intercept the browser https trafic. I do find Proxy SwitchySharp chrome add on handy if you use multiple proxy like burp,zap etc.
I’m now going to hacking. Will append more items in future. O_o this Raspberry Pi 4 features on-board wifi monitor mode & frame injection support! What makes you wait to order one! Good luck.
Install Visual Studio Code (Install but does not running in my case :( )
Download arm64 from https://code.visualstudio.com/download
sudo dpkg -i code_1.52.1-1608136325_arm64.deb
Useful Links